
Infant Car Seat Repair: How to Fix the Most Common Issues
This post contains affiliate links. As an Amazon Associate, we earn from qualifying purchases.
To fix an infant car seat, you must diagnose the exact failure: a loose base (tighten the LATCH strap or seat belt at the belt path, not the front lip), slipping harness straps (check for twisted webbing and the retainer clip behind the seat), or a poor fit against contoured vehicle seats (use a tightly rolled towel under the base front, if the manual allows). Never use both the lower anchors and the seat belt together, and replace the entire seat after any crash.
The one-inch movement rule is the benchmark, but the real failure is usually at the belt path. You can crank down on the front of the base all day and still have a dangerous gap where the seat belt or LATCH strap routes through the shell. That gap is where kinetic energy transfers in a crash, and if it’s loose, the seat rotates.
What follows is a breakdown of the three most common physical failures, the tools you need (a socket set isn’t one of them), and the manufacturer-approved fixes that don’t void your seat’s warranty. We’ll also cover when a “fix” isn’t possible and you must stop using the seat immediately.
Key Takeaways
- The 1-inch movement test applies at the belt path, not the front lip of the base. A seat can feel rock-solid at the front but pivot dangerously where the vehicle belt passes through.
- Harness straps slip because of twisted webbing or a disengaged adjuster strap. The retainer clip behind the seat back must be threaded correctly; if it pops off, the strap won’t lock.
- Deeply contoured vehicle seats cause bases to rock. The approved fix is a single, tightly rolled towel or pool noodle placed under the base’s front edge only, never under the entire shell.
- No repair is allowed for cracked plastic, frayed straps, or a missing buckle. If the seat has been in a crash, it must be replaced, not fixed.
- Conflicting instructions between your car seat and vehicle manuals are not a suggestion. Contact the seat manufacturer’s consumer services line for a definitive ruling.
The 1-Inch Movement Test (And Where It Actually Matters)
Push and pull the car seat base at the belt path. Not the front lip, not the carry handle. Your hand needs to be where the vehicle’s seat belt or LATCH strap routes through the base’s plastic shell. The Graco SnugRide 35 manual states the restraint should not move side-to-side or front-to-back more than 1 inch (2.5 cm) when tested here. Most people check the wrong spot.
A base can feel tight because you’re pressing down on a contoured vehicle seat cushion. The cushion compresses, giving a false sense of security. The belt path is the anchor point. If that’s loose, the whole seat can rotate upward in a frontal crash, exposing your child’s head to the front seatback.
Common mistake: Tightening the front of the base while ignoring the belt path. You’ll compress the vehicle seat cushion and think it’s secure, but the critical anchor point still has 3 inches of slip.
How to Re-Tighten a Loose Base
The process differs for LATCH versus seat belt installations. The goal is to remove all slack from the strap or belt at the belt path.
For LATCH installations:
- Unlock the LATCH connectors from the vehicle anchors.
- Kneel directly into the center of the car seat base. Put your full weight into it, compressing the vehicle seat cushion.
- While keeping your weight in the base, pull the LATCH adjustment strap taut. You should hear the ratchet clicking as it tightens.
- Reconnect the LATCH connectors to the anchors. They should snap into place without forcing them. If you have to fight it, there’s still too much slack, repeat steps 2 and 3.
- Perform the 1-inch test at the belt path.
For seat belt installations:
- Unbuckle the seat belt.
- Again, kneel into the base with your weight.
- Pull the seat belt webbing tight across the belt path, then buckle it.
- Many belts require “locking” to hold tension. For switchable retractors, pull the belt all the way out until it clicks into lock mode. For sliding latchplates, you must use a locking clip provided with the seat. Refer to your vehicle manual, this is the most common point of failure.
- Perform the 1-inch test.
If the base still shifts, the vehicle seat contour might be the problem.
| Symptom | Likely Cause | Approved Fix |
|---|---|---|
| Base rocks front-to-back on a curved seat | Gap under base front lip | Single, tightly rolled towel under front edge only* |
| Base slides side-to-side | LATCH strap routed over seat bolster | Reposition base to sit flat between bolsters |
| Movement only at belt path | Seat belt not locked or LATCH strap loose | Re-tighten with weight in base; verify lock mode |
| *Always check your car seat manual first. Not all manufacturers permit this. |
Harness Straps That Slip or Won’t Tighten
You pull the adjuster strap, but the harness stays loose. Or it tightens but slowly creeps loose over a short drive. This isn’t a design flaw, it’s a setup error in 95% of cases. The harness system is a simple pulley: a continuous loop of webbing threaded through the seat shell, over the child’s shoulders, and into a buckle. A single twist in that loop breaks the friction.
First, unthread the entire harness. Follow the webbing from the adjuster strap at the front, around the back of the seat shell, up through the shoulder slots, and into the buckle tongues. Look for: * A twisted strap behind the seat back. * The adjuster strap becoming disconnected from its retainer clip on the seat back. * Webbing routed outside of plastic guides.
The Cybex Cloud G Pro manual mandates that the top of the child’s head must be at least 1 inch below the top of the car seat shell. If the harness slots are below the shoulders, you’ll fight the straps constantly as you try to tighten over the bulk of the child’s body. Move the straps up before you diagnose anything else.
The retainer clip is the hidden culprit. It’s a small plastic piece on the back of the seat shell where the adjuster strap threads through. If this clip is unthreaded or broken, pulling the adjuster strap just moves the clip, not the shoulder straps. Thread it correctly, and the system will lock.
If the straps still slip, the locking mechanism inside the adjuster may be jammed with crumbs or debris. You can’t fix this. Don’t take the seat apart. Contact the manufacturer, this is a warranty issue.
When the Problem Is Your Car, Not the Car Seat
Modern vehicle seats are sculpted for comfort, not for a flat, rigid car seat base. A Reddit user with an Equinox EV described the issue perfectly: the wide Graco base bridged the side bolsters, leaving a huge air gap under the front lip and causing the base to slide. The LATCH anchors trapped it on the highest part of the seat hump.
This is a compatibility problem, not an installation error. The federal car seat installation guide from NHTSA advises that if there is a conflict between your car seat and vehicle manuals, you should contact the seat manufacturer. They have engineers who test these scenarios.
- Britax bases in Hyundai captain’s chairs: Some parents report the seat clicks in but won’t release without brute force. The issue is the base’s release mechanism binding against the chair’s side bolster. The fix is often slight repositioning of the base, not more force.
- The towel trick: For gaps under the front lip only, many manuals (like Graco’s) permit a single, tightly rolled towel or a pool noodle section placed under the base’s front edge to level it. It must be tight enough not to compress. Never place padding under the entire base or between the base and the child.
- Load leg issues: Seats like the Cybex Cloud G Pro have a load leg that extends to the vehicle floor. If your floor is carpeted or uneven, the foot can slip. Ensure the foot is planted firmly on a solid surface, not on a floor mat.
The goal is 100% of the base bottom in contact with the vehicle seat, or a manufacturer-approved method to achieve it. Guessing is not an option here.
The “Can’t Fix” List: When to Replace, Not Repair
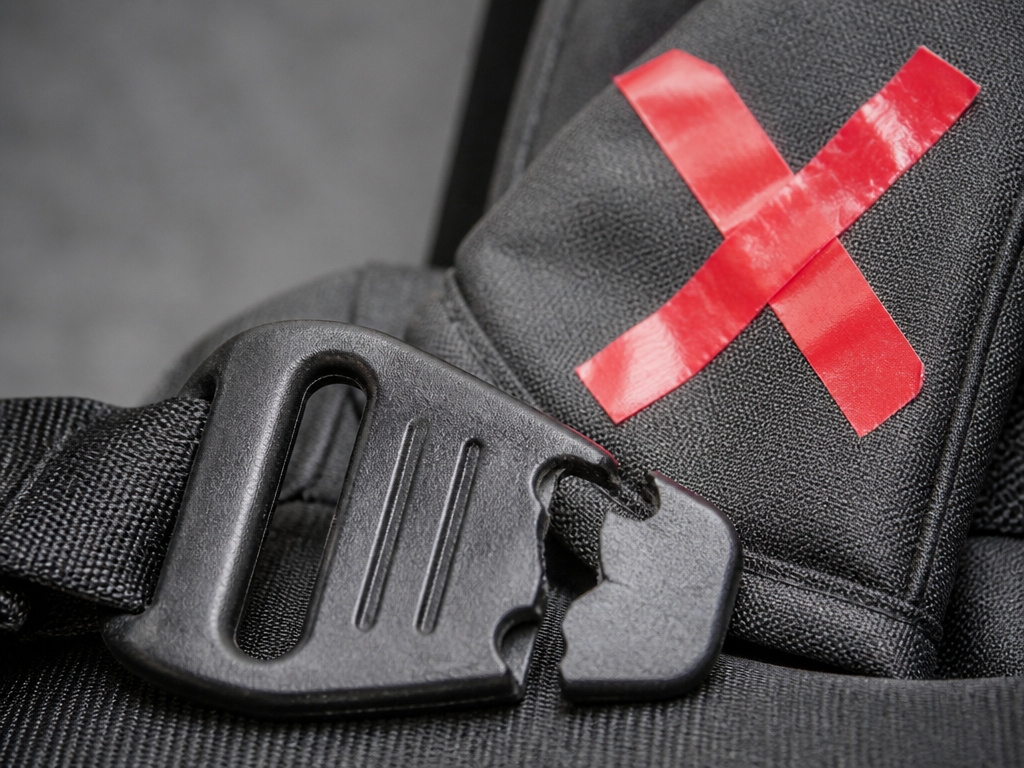
Some problems have no safe fix. This is the short, non-negotiable list. Ignoring it turns the car seat into a plastic shell with no safety function.
- After any crash. The Cybex manual states it plainly: “ALWAYS REPLACE THE CHILD RESTRAINT AFTER A CRASH OF ANY KIND, EVEN IF IT WAS UNOCCUPIED.” Stresses can crack the plastic internally. Insurance should cover this.
- Missing or broken parts. A cracked buckle tongue, a frayed harness strap, a missing chest clip. Manufacturers prohibit gluing, sewing, or taping. You must order replacement parts directly from them.
- Unknown history. Never use a secondhand seat if you don’t know its full history. It could be expired, recalled, or crashed.
- Exceeded limits. The Joie i-Snug 2 has a hard limit: child height 40cm-75cm, weight 13kg, age <12 months. If your child exceeds any one of these, the seat is done. No adjustment changes that.
If you encounter any of these, stop using the seat. Your only move is to purchase a new one or, for minor broken parts, contact the manufacturer for genuine replacements. This is why registering your seat is critical, they can contact you for recalls and you can order correct parts.
Frequently Asked Questions
Can I use both the seat belt and LATCH to make it extra secure?
No. Never. The NHTSA and every car seat manual are explicit: use the lower anchors or the seat belt, never both. The two systems are not designed to work in tandem and can create unexpected stress points that cause one or both to fail in a crash.
My car seat base is tight, but the carrier clicks in and feels wobbly. Is that okay?
No. The connection between the carrier and the base must be absolutely rigid. The Graco manual warns that if the carrier does not securely latch into the base, it provides no protection. Check for obstructions in the base’s connection points, ensure the carrier is aligned correctly, and listen for a definitive “click.” If it still wobbles, the latch mechanism may be defective.
How do I know if my harness straps are at the right height?
The harness straps should come from the seat shell at or just below your infant’s shoulders for a rear-facing seat. You should not be able to pinch a horizontal fold in the strap at the child’s collarbone. If the straps are too high, they won’t restrain properly; too low, and they can cause the child to slump.
Is it safe to add aftermarket inserts or strap covers?
Only if they are sold by the car seat manufacturer specifically for your model. Aftermarket products, like fluffy strap covers, head positioners, or seat protectors, have not been crash-tested with your seat and can interfere with the harness’s performance. They can also be a suffocation hazard for young infants.
Who can I call if I’m still not sure it’s fixed?
Contact a Child Passenger Safety Technician (CPST). Many fire stations, police stations, and hospitals offer free car seat checks by certified technicians. You can also find them through the NHTSA website. Don’t rely on well-meaning friends or family, get a professional opinion.
Before You Go
Fixing an infant car seat comes down to precision, not force. Match the solution to the specific failure: tighten at the belt path, untwist the harness webbing, or level the base with an approved method. Your manuals are the final authority, when they conflict, the seat manufacturer’s consumer service line has the answer.
Remember the three unsolvable problems: crash history, broken structural parts, and a child who has outgrown the limits. In those cases, replacement is the only safe path. A properly installed and adjusted seat should feel boringly solid, with no drama and no guesswork. That’s the feeling you’re after.
