
Joie Car Seat: When to Take Out Newborn Insert (60cm, 11lb)
This post contains affiliate links. As an Amazon Associate, we earn from qualifying purchases.
Remove the newborn insert from a Joie car seat when your baby reaches one of two limits: a height of 60 centimeters (about 23.6 inches) or a weight of 11 pounds (5 kilograms), whichever comes first. The 60 cm rule applies to European i-Size models like the i-Spin 360; the 11 lb rule applies to US models like the Joie Rue. Ignoring these limits compromises the harness fit and the seat’s side-impact protection, turning a safety feature into a hazard.
That 60 cm / 11 lb split is not a suggestion. It’s printed in the manual for your specific seat, and it exists because the insert’s job changes from essential support to dangerous obstruction the moment your baby grows into the next size bracket. Get this wrong, and the five-point harness won’t sit where it’s engineered to sit.
What follows is the model-by-model breakdown. US versus European seats, the one visual check that overrules the manual, and the exact steps to pull the padding without missing the hidden foam wedge some models require you to store separately.
Key Takeaways
- The removal trigger is either 60 cm (23.6 in) height for i-Size seats or 11 lb (5 kg) weight for US seats, check your manual for the exact limit.
- For i-Size seats (i-Spin 360, i-Spin Multiway, i-Spin Grow), the insert provides critical side impact protection for infants under 60 cm.
- The most reliable check is the shoulder test: if the infant’s shoulders are above the bottom of the head support, the insert’s body portion must come out.
- Some models, like the Joie i-Snug 2, have a removable foam wedge under the insert that must be stored out of a child’s reach after removal.
- Never use the infant insert when the seat is in forward-facing or booster mode, regardless of the child’s size.
The Two Hard Limits You Cannot Ignore
Most guides give you a wishy-washy “when your baby outgrows it.” Joie’s manuals give you numbers. The catch is that the number depends on which safety standard your seat was built to meet.
For seats sold in the United States, like the Joie Rue, the rule is weight. The manual states the infant insert must be removed once the child reaches 11 lb (5 kg). That’s it. There’s no height qualifier alongside it in the US manual. The seat’s own weight range starts at 4 lb, so that insert is only for the smallest newborns.
For seats sold under the European i-Size standard (ECE R129), which includes the Joie i-Spin 360, i-Spin Multiway, and i-Spin Grow Signature, the rule is height. The manuals for these models uniformly recommend using the full infant insert “while the baby is under 60cm” or until they outgrow it. This isn’t just about comfort. For these seats, the insert is part of the certified side impact protection system for that size range.
The infant insert increases side impact protection for a child under 60 cm. After that point, it changes the geometry of the harness and can create dangerous slack in a crash.
The i-Size standard uses height as the primary metric because it’s a better indicator of a child’s skeletal development and how they’ll fit in the shell. Weight alone can be misleading. So your first step is to identify your seat. Is it a US-market Joie Rue? Then watch the scale. Is it an i-Spin model? Break out the measuring tape.
Why This Timing Isn’t Arbitrary
An insert is not a pillow. It’s a precision spacer. Its job is to position a tiny newborn’s body so the harness straps fall correctly across the shoulders and the buckle sits low between the legs. When the child grows, that spacer becomes a compressor.
If you leave the insert in too long, you force the child’s body forward into the harness. The crotch buckle can ride up, the shoulder straps can slip off, and the child’s head can be propelled forward in a crash with more force. In i-Size seats, you also lose the engineered benefit of the side-impact pods being at the correct distance from the child’s head.
The opposite mistake is taking it out too early. For a baby under the limits, the harness straps will be too far outboard, likely resting on the arms or even off the shoulders entirely. In a collision, the child can submarine down and out of the restraint. The Joie i-Snug 2 manual is explicit: the insert is “for children’s protection.”
| Seat Model | Standard | Remove Insert At | Key Manual Directive |
|---|---|---|---|
| Joie Rue | US FMVSS | 11 lb (5 kg) | “Infant insert MUST be removed once the child reaches 11 lb.” |
| Joie i-Spin 360 | ECE R129 (i-Size) | 60 cm height | “We recommend using the full infant insert while the baby is under 60cm.” |
| Joie i-Spin Multiway | ECE R129 (i-Size) | 60 cm height | “Remove the infant insert when forward facing mode.” |
| Joie i-Spin Grow Signature | ECE R129 (i-Size) | 60 cm height | “Remove the infant insert when in booster mode.” |
| Joie i-Snug 2 | ECE R129 (i-Size) | Shoulders above head support bottom | “Remove the body portion of the infant insert when the infant’s shoulders no longer fit comfortably.” |
The Shoulder Test: Your Visual Backup Plan
Manuals can get lost. Growth charts are estimates. Your eyes don’t lie. The single best way to know if the insert’s body portion has to go is the shoulder test outlined for models like the i-Snug 2.
- Place your child in the seat with the insert still in place.
- Fasten the harness and chest clip snugly.
- Look at where the shoulder straps emerge from the seat shell, relative to the child’s shoulders. They should be at or just above the shoulders.
- Now, look at the head support. The bottom edge of the head support must be level with the top of the child’s shoulders.
If your child’s shoulders are above the bottom of the head support while the insert is in, the insert is propping them too high. The harness geometry is off. That’s your visual cue to remove the body portion of the insert immediately. This check overrides any doubt about whether you’ve hit 60 cm or 11 lb.
Common mistake: Leaving the insert in because the baby “still fits” or looks cozy. Comfort is not the metric. Harness placement is.
Step-by-Step Removal Guide
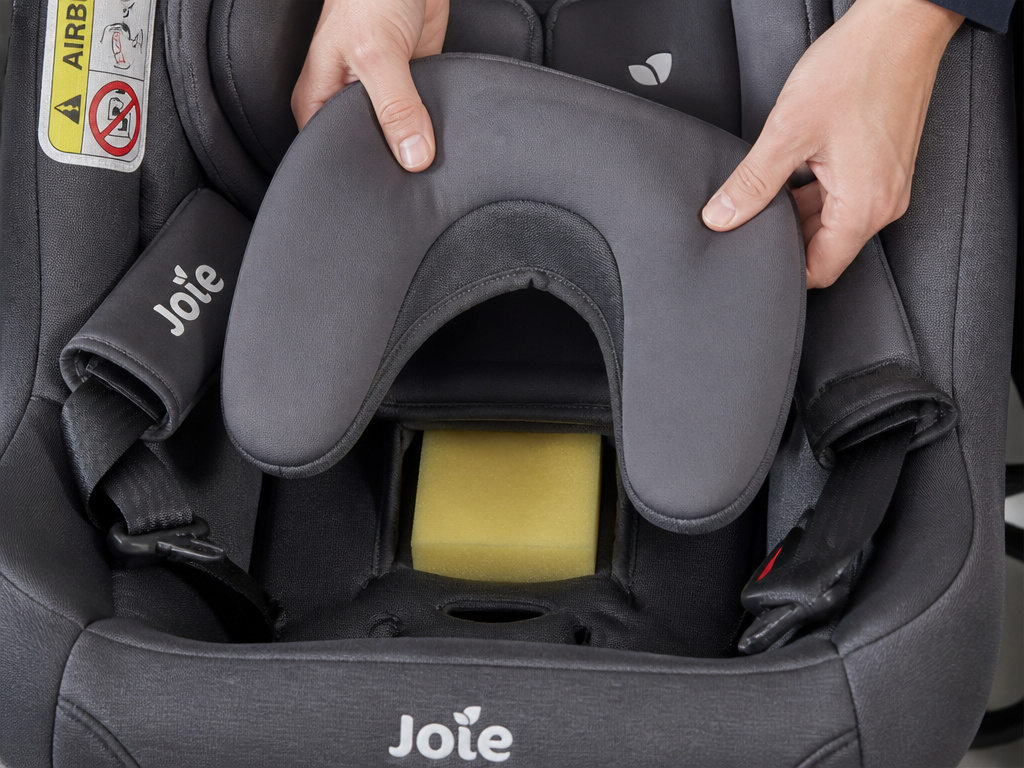 Removing the insert is simple, but there’s one specific step most people miss on certain models, and it involves a piece of foam you must keep away from kids.
What You’ll Need:
- Your hands.
- A place to store the insert (and possibly a foam wedge) out of your child’s reach.
The Process:
- Unbuckle and remove your child. Never try to remove or adjust padding with the child in the seat.
- Release the harness straps. Press the harness adjustment button (usually at the front of the seat between the legs) and pull the shoulder straps fully loose.
- Locate the insert. It’s the padded U-shaped piece that surrounds the infant’s head, back, and sides. It’s not the head support pillow or the seat cover.
- Lift it out. It should lift straight up and out. It may be tucked under the side wings or head support. Gently disengage it.
- Check for the foam wedge (i-Snug 2 specific). The Joie i-Snug 2 manual states: “Before using the insert, add the foam wedge.” That means there’s a separate wedge piece underneath. If your seat has this, remove it now.
- Re-thread and tighten the harness. Without the insert, the harness straps will have more slack. Pull the adjustment strap to take up the slack until you can just barely pinch the harness webbing at the child’s shoulder.
- Perform the pinch test. With the child back in the seat and buckled, try to pinch the harness strap vertically at the shoulder. If you can pinch a fold of webbing, it’s too loose.
Where this goes sideways: Forgetting the foam wedge on an i-Snug 2. The manual is clear: “After removing the wedge from the infant insert, store it somewhere that the child cannot access it.” That wedge is a choking and suffocation hazard if left loose.
What to Do With the Insert After Removal
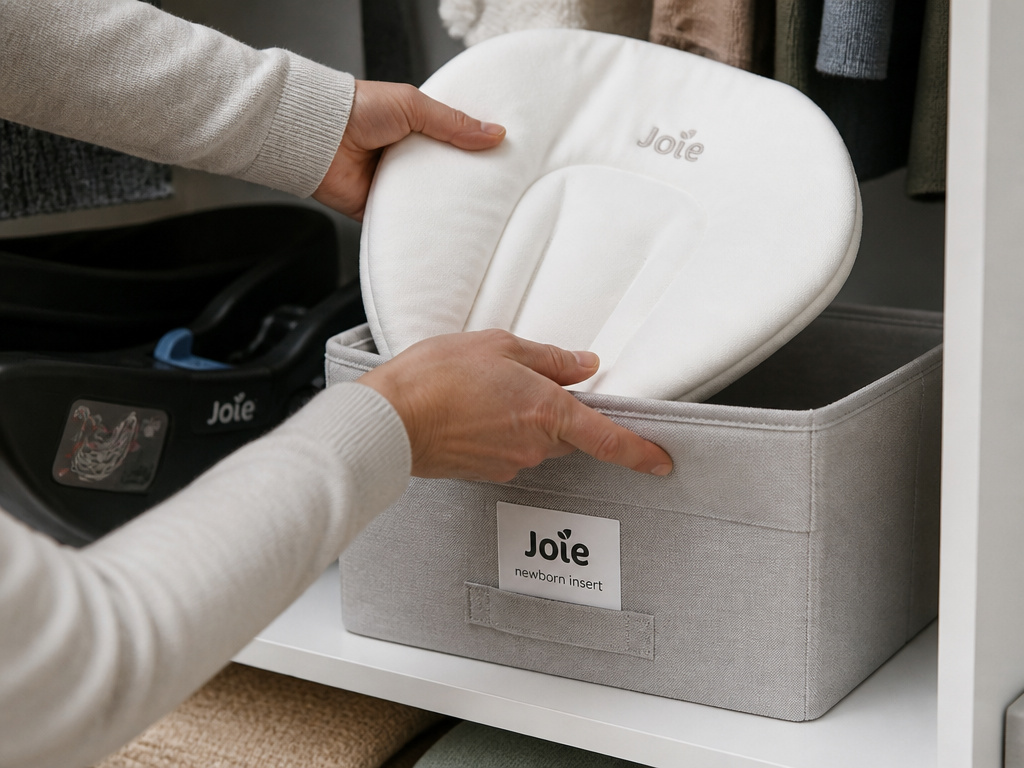 Don’t just toss it in the closet. You have two responsible options.
First, store it safely. Put it in a closet or shelf your child cannot access. The same goes for any removable foam wedge. These are not toys.
Second, clean it if needed. The Joie i-Spin 360 manual specifies that the seat cover and inner padding (which includes the insert) should be washed in cold water under 30°C (86°F). Do not wring it out, bleach it, dry clean it, or iron it. Hang it to dry. These instructions are typical for all Joie soft goods.
If you’re storing the seat itself long-term, perhaps before a future sibling uses it, the Joie Rue manual advises removing the entire child restraint from the vehicle and storing it in a cool, dry place your child cannot access. This prevents UV damage and keeps curious hands away.
Forward-Facing and Booster Mode Rules
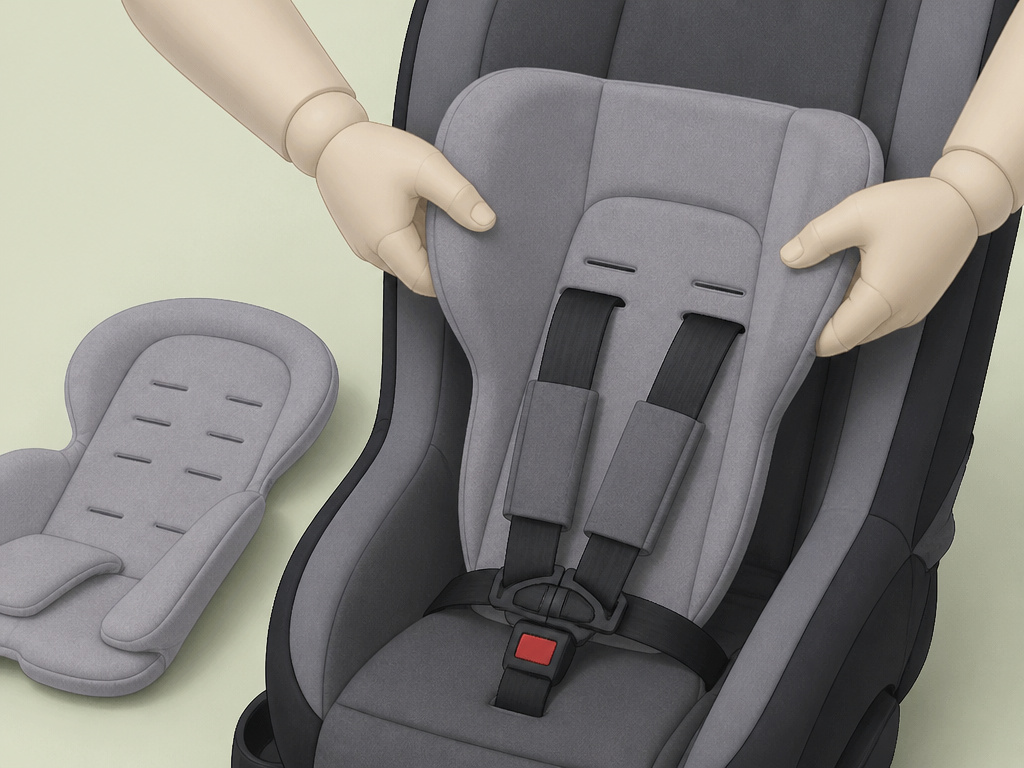 This is non-negotiable and spelled out in multiple manuals. When you convert a convertible seat like the i-Spin Multiway or i-Spin Grow Signature to forward-facing mode, the infant insert must come out. The same rule applies for booster mode on the i-Spin Grow.
The seat’s structure and harness routing are completely different in those orientations. The insert, designed for a rear-facing newborn’s posture, will actively interfere with the harness fit for a forward-facing toddler. It can push the child’s torso too far forward, creating dangerous slack.
Never use the infant insert when the seat is in forward-facing or booster mode. The manual for the i-Spin Multiway states this directive plainly. It’s a hard rule, not a suggestion.
Frequently Asked Questions
My baby is 10 lb but long, can I keep the Joie Rue insert in?
No. The US manual for the Joie Rue specifies removal at 11 lb with no height-based exception. The harness system is certified with that weight as the cutoff for the insert’s use. Keeping it in beyond that weight risks improper restraint.
The insert still fits my 4-month-old. Do I really have to take it out at 60 cm?
Yes. For i-Size seats, the 60 cm mark is the engineering limit for that component’s safety performance, particularly for side-impact protection. “Fitting” is not the same as being safe. The certification assumes the insert is removed at that height.
Can I wash the newborn insert?
Yes, but follow the care labels. Typically, hand wash in cold water (under 30°C/86°F) with a mild detergent. Do not bleach, dry clean, or machine wring. Air dry completely before reinstalling. Always check your specific model’s manual first.
Is the head support the same as the newborn insert?
No. The head support is a separate, often adjustable piece attached to the seat shell. The newborn insert is a U-shaped body insert that goes underneath the child. You remove the body insert at the height/weight limit; you adjust the head support as your child grows to keep it level with their shoulders.
What if I lost my manual?
You can download the official PDF for your exact Joie model from the Joie website. Search for your model name and “instruction manual.” This is critical, as guidelines differ between the Joie Rue and the Joie i-Spin 360. Never guess.
Before You Go
The rule is simple because the stakes aren’t. Take the insert out at 60 cm for i-Size seats, 11 lb for US seats, or the moment your child’s shoulders rise above the bottom of the head support. That insert is a temporary scaffold for a newborn’s safety. After that, it’s clutter that can compromise the very system it was meant to help.
Check your manual tonight. Perform the shoulder test tomorrow. If it’s time, lift it out, store the foam wedge safely, and pull that harness tight against the seat cover. Then you can drive on knowing the seat is doing its job exactly as the engineers certified it.
