
Guide: How to Remove a Car Seat Base Safely & Correctly
This post contains affiliate links. As an Amazon Associate, we earn from qualifying purchases.
To remove the base of a car seat, you must first detach the infant carrier. Then, release the vehicle’s securing system, either the LATCH connectors or the seat belt, before lifting the base out. Never attempt to remove the base with the car seat still attached, and never leave an unsecured base loose in the vehicle.
That first step is non-negotiable. Every manual from Nuna to Graco starts the removal section with it. The base is an anchor; the car seat is the payload. Trying to wrestle the whole assembly out at once strains the attachment points and can damage the locking mechanisms in the base itself.
What follows is the breakdown for the two main securing systems, plus the model-specific quirks that turn a five-minute job into a thirty-second one. We’ll cover LATCH (both flexible strap and rigid) and seat belt installations, pulling steps directly from the OEM manuals.
Key Takeaways
- Always remove the infant car seat first. Squeeze the carrier release button or handle, then lift the seat straight up. This is the universal first step for every base.
- Identify your securing system. You’re using either LATCH (Lower Anchors and Tethers for Children) or the vehicle’s seat belt. Never use both simultaneously.
- For LATCH bases, press the red release button on each connector and detach it from the metal anchor bar in your vehicle seat.
- For seat belt bases, lift the locking clip (if present) and unbuckle the belt before unthreading it from the base’s belt path.
- Never travel with an unsecured base. An empty base becomes a dangerous projectile in a crash. Store it or secure it with a seat belt.
The Universal First Step (You Must Do This)
Detach the infant carrier. Every single procedure begins here, whether you have a Graco SnugRide, a Nuna PIPA, or a Doona.
Locate the release mechanism on the base. It’s often a large button or handle at the rear. For a Graco Click Connect base, you squeeze the base release handle from the back of the car seat and then lift. On a Nuna PIPA base, you press the carrier release button on the base itself. The Doona uses a similar button system.
Common mistake: Pulling the car seat without fully engaging the release. You must hear and feel the click of disengagement. A half-release can jam the mechanism.
Press and hold the release, then lift the infant seat straight up and out. Don’t twist or yank it sideways. Place the carrier somewhere safe, the floor of the vehicle, another seat, or the stroller frame. Now you’re working with just the base.
This step is so critical that it’s the foundation for our guide on how to disconnect car seat from base. Getting it wrong here makes everything else harder.
Uninstalling a LATCH/UAS Base
Lower Anchors and Tethers for Children (LATCH), called Universal Anchorage System (UAS) in Canada, is the standard metal bar system built into most vehicle seats since 2002. There are two types: flexible strap connectors and rigid LATCH.
Flexible Strap LATCH (Most Graco, Evenflo, Chicco)
This system uses webbing straps with hook-style connectors that clip onto the vehicle’s anchor bars.
- Press the red release button on each connector. You’ll usually find one on the left and right side of the base.
- Pull the connector hook away from the vehicle’s anchor bar. It should disengage cleanly.
- Store the connectors. Most bases have a storage clip or slot on the underside. Securing them prevents them from rattling.
The Evenflo REVOLVE 180° LITEMAX NXT manual explicitly states to open the LockStrong™ tray after removing the lower anchor connectors as part of the base removal process.
Rigid LATCH (Nuna PIPA Series, Some Cybex)
Rigid LATCH uses solid, non-flexible arms that click directly onto the anchors. Removal has a specific trick.
For ease of release, push the base toward the vehicle seat back with a light force. As you push, squeeze the secondary and primary rigid latch release buttons. The Nuna manual advises pushing the secondary button first, then the primary.
This “push before you press” action relieves tension on the rigid arms, making the release buttons much easier to engage. Trying to press the buttons with the base under load often feels impossible.
Once the buttons are pressed, the rigid arms disengage and you can pull the base forward. Understanding this nuance is key when you need to perform a ISOFIX base removal for European-brand seats using the same system.
| LATCH Type | How to Release | The “Gotcha” |
|---|---|---|
| Flexible Strap | Press red button, pull hook from anchor bar. | Connectors can be stiff when new; use firm pressure. |
| Rigid LATCH | Push base toward seat, then press release buttons. | Buttons won’t budge if the base is under tension. |
After both sides are free, lift the base out. Check that the vehicle’s anchor bars are clear of any obstructions.
Uninstalling a Seat Belt-Secured Base
If your vehicle doesn’t have LATCH or you’ve chosen to use the seat belt, the removal process is about reversing the belt path.
- Lift the locking clip (if used). Some older vehicle belts or lap-only belts require a locking clip to stay tight. Lift it up to release its grip.
- Unbuckle the seat belt. Press the vehicle’s seat belt buckle button.
- Un-route the belt from the base’s path. Carefully pull the lap and shoulder belt sections out of the guides or channels on the base. Don’t let the belt retract violently, guide it out smoothly.
The Graco SnugRide manual emphasizes that the vehicle seat belt system must hold the base securely. If it didn’t, that’s a separate installation issue. Upon removal, you’re simply reversing a secure installation.
This method is the same one you’d use for a baseless installation when installing the car seat directly onto the vehicle seat.
Model-Specific Nuances & Warnings
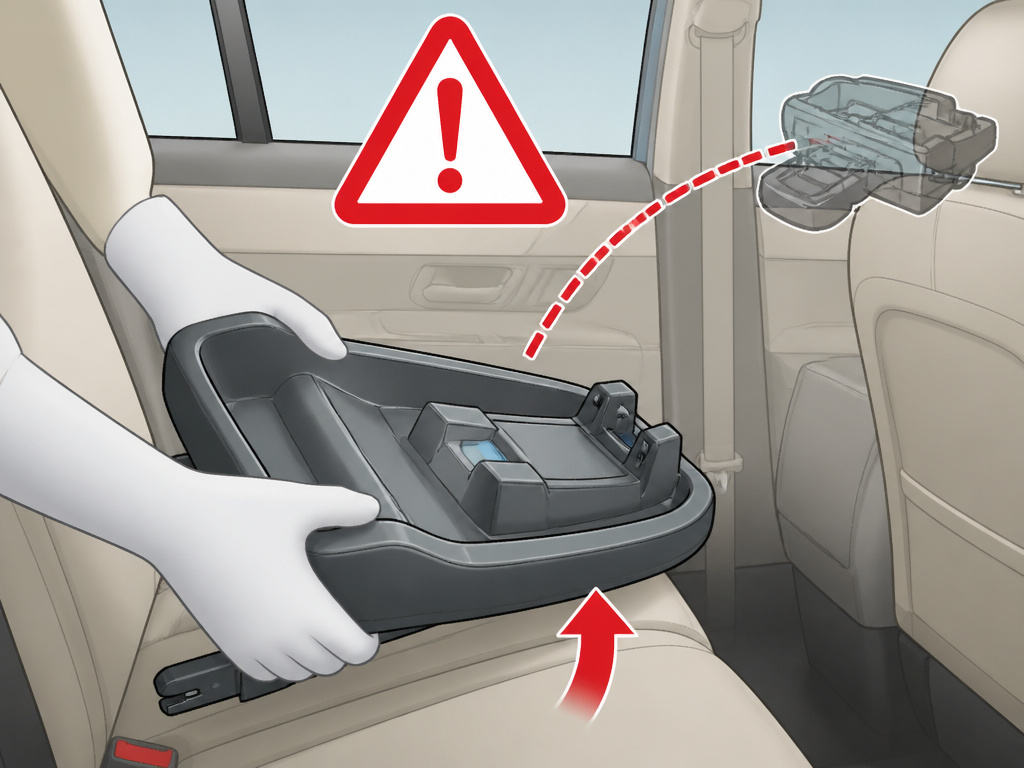
While the core principles are universal, each brand has a detail you can miss.
Nuna PIPA Series Base: Remember the rigid LATCH push technique. Also, this base is only compatible with USA PIPA series seats, not the PIPA urbn.
Evenflo REVOLVE 180° LITEMAX NXT: This seat has a rotating base. Ensure the LockStrong™ tray is in the locked, rear-facing position (green indicator) before you start the removal process.
Doona Base: The Doona user guide has a specific cleaning warning. It recommends removing the base from the car for proper cleaning. You cannot effectively clean it while it’s installed.
Graco SnugRide Base: The manual includes a critical, all-caps warning: “Always secure car seat/base with UAS or a vehicle seat belt, even when unoccupied.” An unsecured base becomes a projectile in a crash.
Where this goes sideways: Leaving an unsecured base in the vehicle after removal. In a sudden stop, a 10-pound plastic shell flies toward the front seats with enough force to cause serious injury.
This warning mirrors the diligence needed for any child safety gear, much like adhering to strict theme park bag policies that exist to prevent hazards. The principle is identical: secure all loose objects.
What to Do After the Base is Out
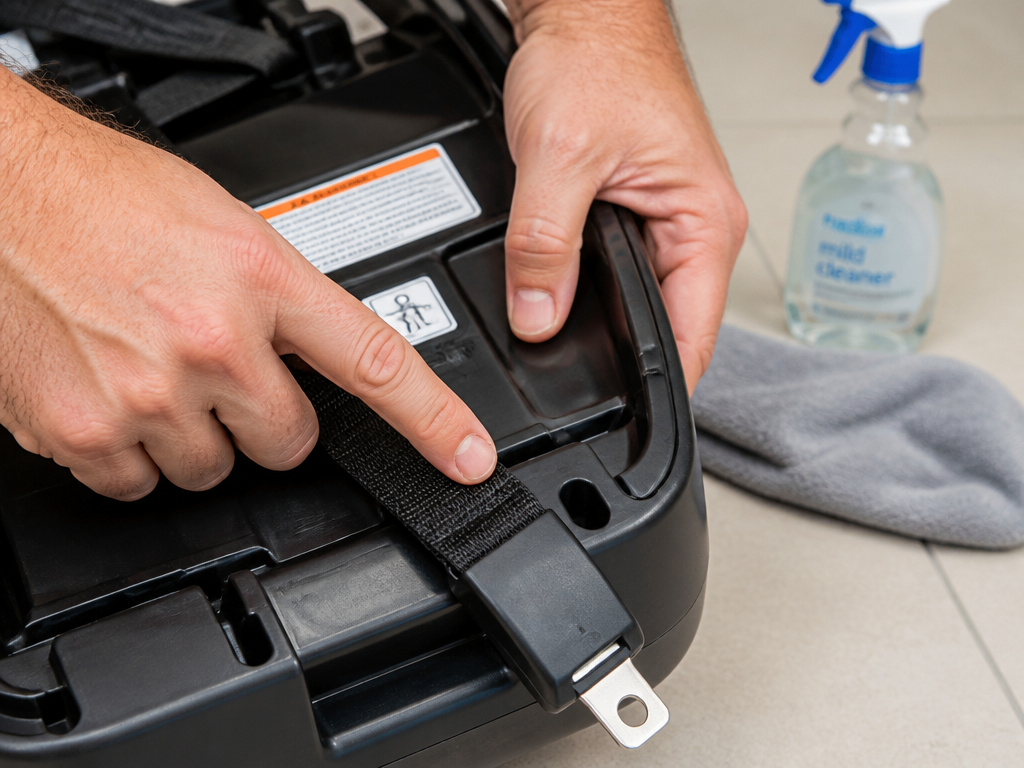
You have a free base and a clear vehicle seat. Now what?
For cleaning: Use a damp cloth with mild soap and water. Never use harsh chemicals, solvents, or lubricants on the plastic, fabric, or mechanisms. For models like the Doona, this is when you’d follow the manual’s advice to clean it thoroughly outside the car.
For storage: Keep the base in a cool, dry place. Avoid extreme temperatures in attics or garages, which can degrade plastics and fabrics over time. Store it with its manual.
For re-installation: Before putting it back, do a quick visual check. Look for cracks in the plastic, fraying on LATCH straps, or any parts that seem loose or broken. If anything looks off, contact the manufacturer before using it again.
The process of removing the infant seat and the base are two halves of the same task. Mastering both means you can switch cars, clean up spills, or store the system with confidence.
Frequently Asked Questions
Can you remove the base with the car seat still on it?
No. You must always detach the car seat first. The release mechanisms for the carrier are separate from the vehicle’s LATCH or seat belt. Trying to remove them together can damage the base’s locking system.
Why won’t my LATCH connectors release?
Check for tension. If the base is still tightly pressed into the vehicle seat, the LATCH connectors are under load. For rigid LATCH, push the base backward. For strap LATCH, try lifting the base slightly or shifting your weight to relieve pressure on the hooks before pressing the red button.
Is it safe to leave the base in the car unsecured?
Absolutely not. This is one of the most repeated warnings in every manual. An unoccupied, unsecured base is a dangerous loose object. In a crash, it can fly around the cabin. Either secure it with a seat belt or remove it from the vehicle entirely.
How do I remove a base that’s really stuck?
First, ensure you’ve followed all steps correctly and the car seat is off. For a stuck seat belt, make sure the locking clip is fully disengaged. For stuck LATCH, double-check you’re pressing the release button completely. If it’s still stuck, contact the manufacturer’s customer service. Do not use excessive force.
Do I need to re-thread the seat belt every time I remove the base?
Yes. A proper seat belt installation requires the belt to be routed through the specific belt path on the base. Simply unbuckling it and leaving it threaded is not a secure re-installation. You must unbuckle, un-route, and then re-route and re-buckle tightly each time.
Before You Go
Removing a car seat base boils down to three actions: release the carrier, release the vehicle’s hold, and lift. The devil is in the details, knowing whether you have rigid or flexible LATCH, remembering to unbuckle before unthreading, and never, ever leaving that empty base loose.
Keep your manual. The steps for your specific Nuna, Graco, or Doona base are printed there. Use them. That’s how you move from guessing to knowing, and from knowing to doing it right the first time, every time.
